With so many fly vises on the market and pricing options available, choosing the right vise can be a difficult task. Navigating these waters can be even more of a challenge if you are purchasing your first vice.
If you are purchasing your first fly tying vice, you should not purchase the cheapest fly tying vice as the hook will likely slip in the vise’s jaws. Buying a cheap vise will lead to a lot of frustration and wasted time having to rearrange the position of the hook. You may even have tie in materials again as the thread may have become loose and materials may have fallen from the hook.
If you are looking to upgrade your fly tying vice, you may have a better idea of the kind of vice you want. You will have experienced some of the problems of cheaper vises and are looking to be pointed to a better vice to tie flies on.
Regardless of whether you are looking to getting started in fly tying or you are looking to upgrade your current fly tying vise, in this article I will show you some of the qualities you should look for in a good fly tying vise. I will go over some of the best fly tying vises on the market.
How Much Does a Fly Tying Vise Cost?
A cheap fly tying vice can cost $20, a good fly vise will cost between $150-$200. A more expensive fly tying vice might cost as much as $700 or more.
A good fly tying vise does not need to break the bank. I recommend choosing one that is expensive enough that it has been made with good materials and will stand the test of time. That way, you will not have to regularly replace parts or a whole vise later on.
Avoid getting a cheap vice as the hooks can often slip in the vise’s jaws.
Fly Vise Characteristics
Choosing the right fly vise is not as simple as it may look. Afterall, don’t they all just hold a hook? There are multiple vises available for example, stationary, rotary, or turning vises. You will also have to take into account whether you want to be able to fix the vise to a tabletop using a C-clamp or whether you want your vise to be attached to a pedestal base.
When you choose your fly tying vise you will want to consider:
- How often you will be using it
- What kind of flies you will be tying
- The size of flies you will be tying
- How often you will be using your vise
Stationary Fly Vise
A stationary vise hold the fly hook in a stationary position. Therefore, when it comes to tying you will be limited in what you can do. As the hook is held stationary, you will not be able to turn the vise to view the fly at different angles.
Rotary Fly Tying Vise
A rotary vice will allow you to turn the hook 360 degrees by turning the lever or twisting the vise jaw.
A major benefit of using a rotary fly vise is that it can help speed up your fly tying. This is especially the case when tying with a hackle. Other fly tying vises can also turn, allowing you to inspect your fly but will not speed up your tying.
I prefer rotary fly tying vises and would recommend a rotary vise to most tiers, at the very least a turning vice. Rotary vices are especially handy for tying small dry flies where turning the vise is easier than applying a hackle by hand.
Turning Fly Vise
Some people do not like the rotary function on their fly tying vice. Instead, they just want a vise to turn to allow them to inspect a fly from all angles.
C-Clamp Fly Vise
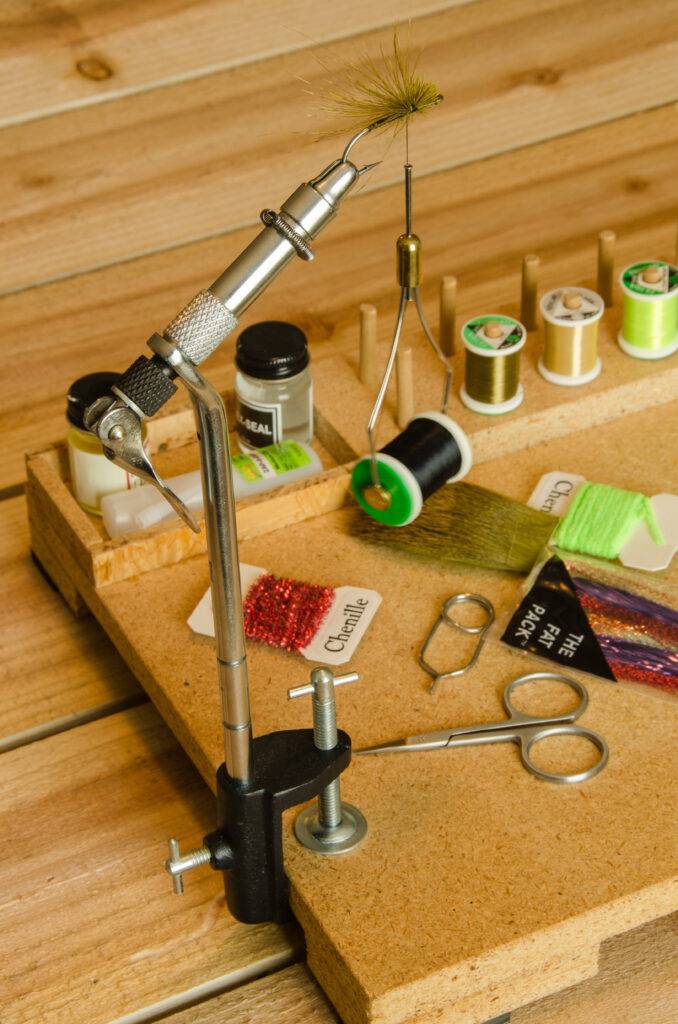
Most tying fly tying vises come with a C-Clamp. However, for many of the C-Clamp vises, you can buy a pedestal base for them.
I prefer using a C-Clamp fly vice as it firmly secures your vise to a tabletop. This keeps the vise stable and secure while you tie your flies. However, C-Clamps can leave marks on a table. Therefore, it is best to place pieces of cardboard or thin strips of wood under you clamps.
Pedestal Fly Vice
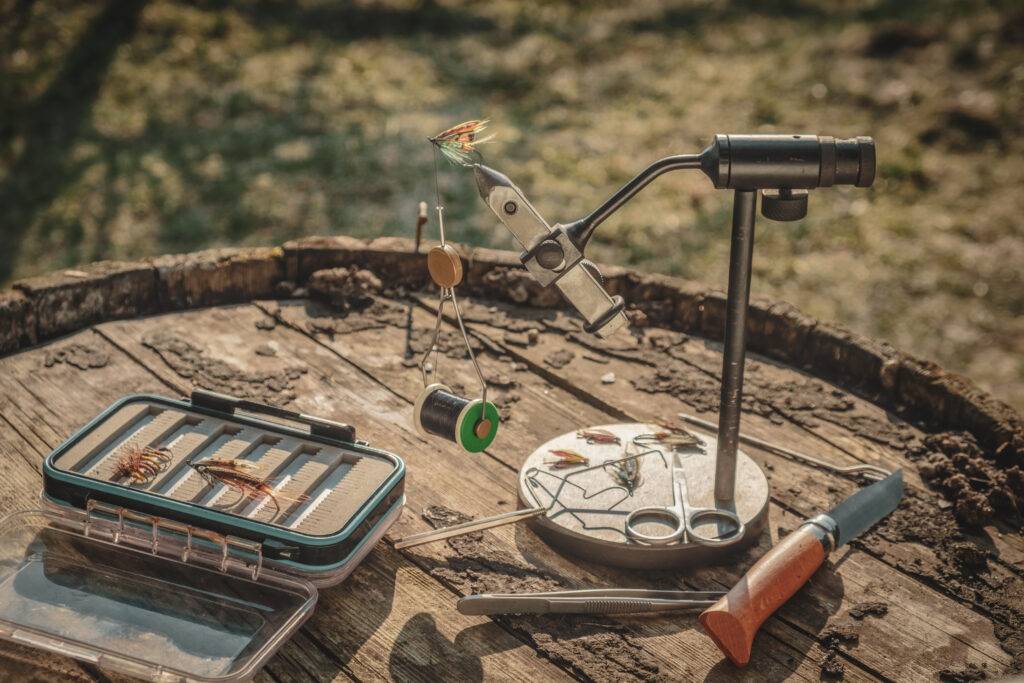
Pedestal vises sit on top of your fly tying desk. They are ideal for travelling as you can set up your vise anywhere you have a flat surface and start tying. The disadvantage of pedestal fly vises is that they are not as stable as a C-Clamp style fly vise.
If you get a vise that is both C-Clamp and can be attached to a pedestal base, you will be able to use the C-Clamp when tying at home and the pedestal base when you are tying away from home and you are on the move.
Jaw Type
There are two main jaw types used in fly vises; the collet and the lever jaw type.
Collet Jawed Fly Vise
Fly vises with a collet jaw operated much like a pair of tweezers.
The jaws are closed by pushing or pulling them into a ring, called a collet. This is achieved by a lever and cam which is found at the back of the vise barrel.
Vises that use a push-collet design, with these fly vises the jaws are opened and closed by turning a knob found behind the jaws.
Lever Jawed Fly Vise
Lever fly tying vises work like wooden clothes pin. They are two-piece jaws that use a fulcrum and a mechanism to close the jaws. The vise’s jaws are closed with either a thumbscrew or a cam lever.
Jaw Design
Jaw design is of central importance when vise manufacturers design their vises. Afterall, a vise that cannot hold a hook properly is not of any use.
For larger hooks, manufacturers aim a to create a vise where the hook does not slip from the jaws. On the other hand, when it comes to small hooks, the manufacturers have to design a vise that provides the fly tier with maximum access to the small hook.
In modern vises, manufacturers ensure their vises keep large hooks firmly in place by increasing the pressure the vise puts on the hook, machining serrations into the jaws to hold the hook or by using hook pockets in the jaws.
When tying small flies, I prefer to use a vise that has jaws with a small tip allowing for maximum access to the hook.
For large hooks, I prefer to use smooth or serrated jaws to hold the hook properly. Jaws with pockets are reserved for the largest of hooks.
